DocsEdge Stack
2.2
Single Sign-On with Auth0
Single Sign-On with Auth0
With Auth0 as your IdP, you will need to create an Application to handle authentication requests from Ambassador Edge Stack.
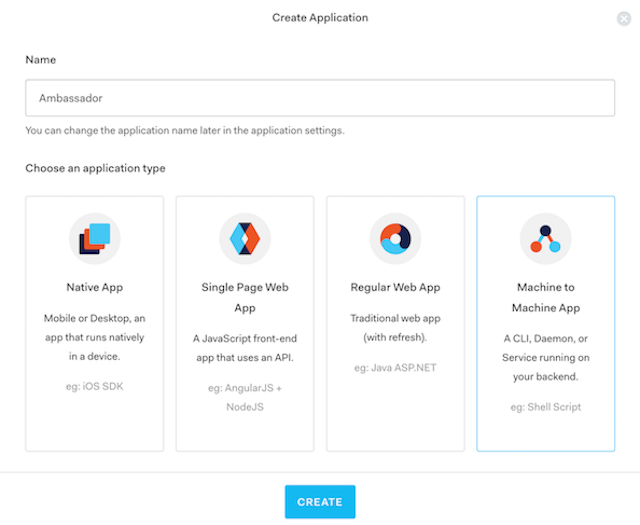
Navigate to Applications and Select "CREATE APPLICATION"

In the pop-up window, give the application a name and create a "Machine to Machine App"
Select the Auth0 Management API. Grant any scope values you may require. (You may grant none.) The API is required so that an
audiencecan be specified which will result in a JWT being returned rather than opaque token. A custom API can also be used.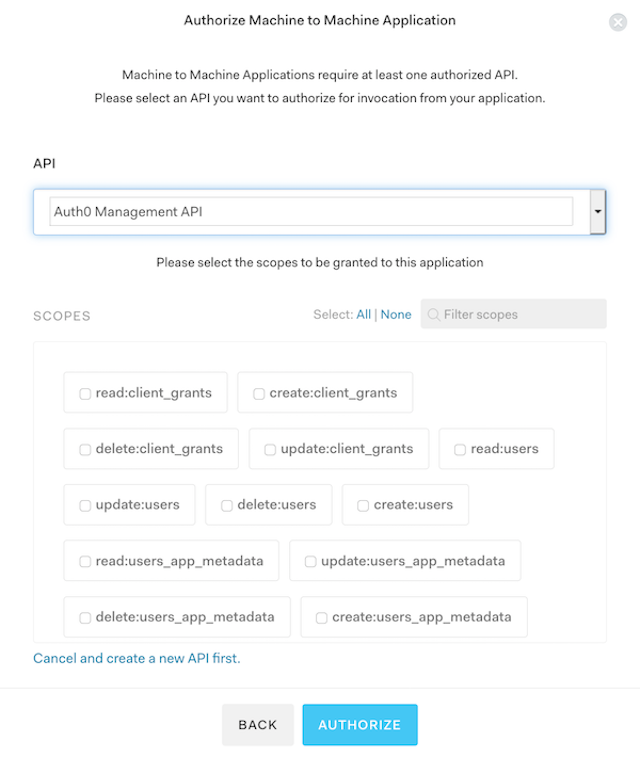
In your newly created application, click on the Settings tab, add the Domain and Callback URLs for your service and ensure the "Token Endpoint Authentication Method" is set to
Post. The default YAML installation of Ambassador Edge Stack uses/.ambassador/oauth2/redirection-endpointfor the URL, so the values should be the domain name that points to Ambassador Edge Stack, e.g.,example.com/.ambassador/oauth2/redirection-endpointandexample.com.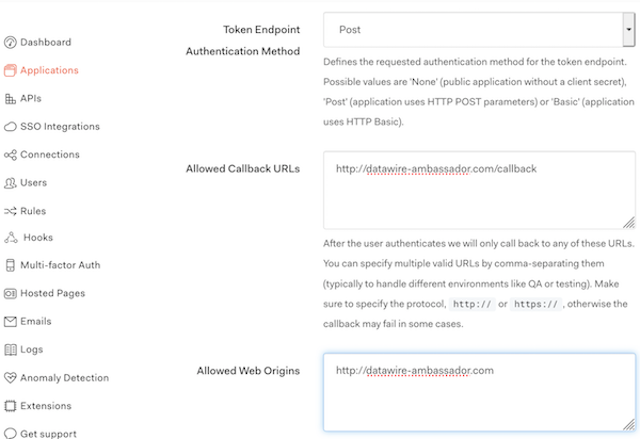
Click Advanced Settings > Grant Types and check "Authorization Code"
Configure Filter and FilterPolicy
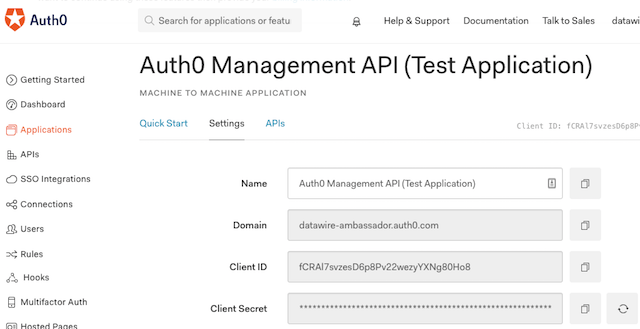
Update the Auth0 Filter and FilterPolicy. You can get the ClientID and secret from your application settings:
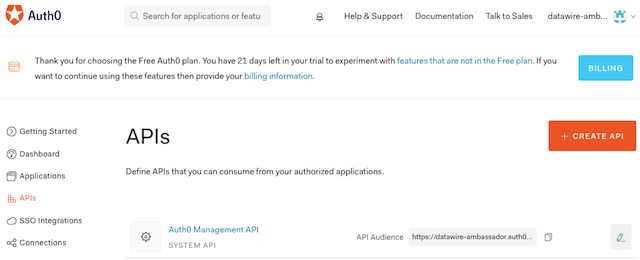
The audience is the API Audience of your Auth0 Management API:
The authorizationURL is your Auth0 tenant URL.
Note: By default, Auth0 requires the openid scope.
ON THIS PAGE


